
For a while now I have been wanting to make our house a home. To make it complete on I have always pictured the front exterior a certain way. I have envisioned making DIY shutters for our home ever since we moved in two years ago.
I have been doing my research on these DIY shutters for a while now- almost discouraged because it seemed like a big task. It was actually a breeze and with some help from the kind people at Home Depot, Andrew, and my dad we completed the task!
Andrew and I call Home Depot our second home because we are ALWAYS there- and to be honest I can’t say one bad thing about Home Depot they are always so helpful. Our favorite thing is that they are dog-friendly, Luther LOVES the workers there.
Let’s get to it!
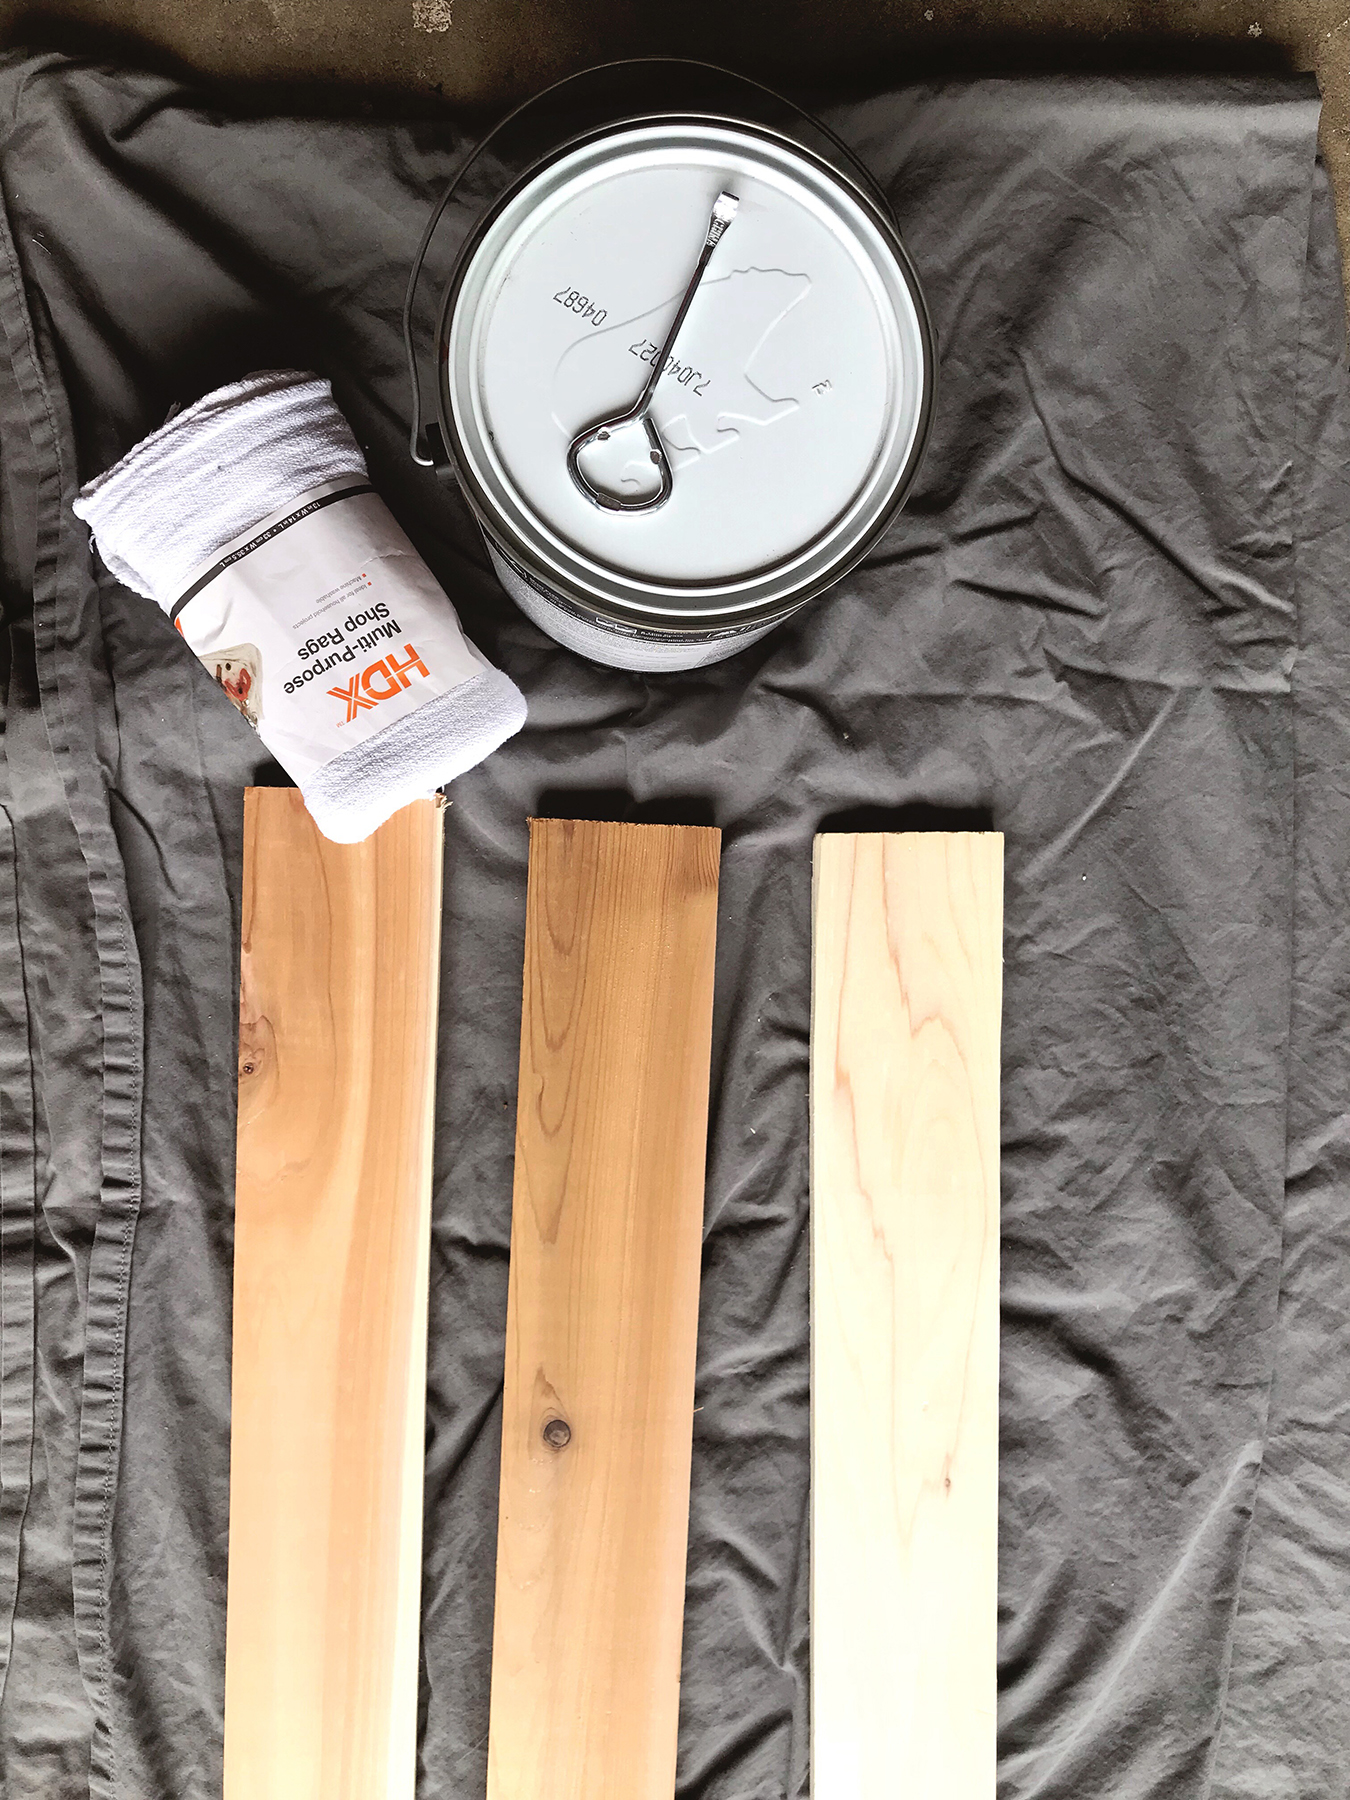
What you will need:
- Wood
- Stain
- Large width brush
- Stain Cloths
- Nail Gun
- Drill
- Galvanized screws (brown- depending on the color of stain)
- Ladder
Step 1: Measure your windows from top to bottom.
We prefer the wood to be flush- from top to bottom, but some people leave some room on the top and bottom of the windows when measuring. The average width is about 12 inches we went actually 15 inches due to the style I was trying to pull off. 
Step 2: Pick out your wood.
We chose to go with Cedarwood- it is durable and already treated. After talking with multiple workers their they suggested the cedar over the pine due to it being best for the exterior. * Note if you do get a wood that is not treated you will need to treat it properly so it can stand weather conditions.
Step 3: Cut your wood- or have Home Depot cut it (that is what we did)

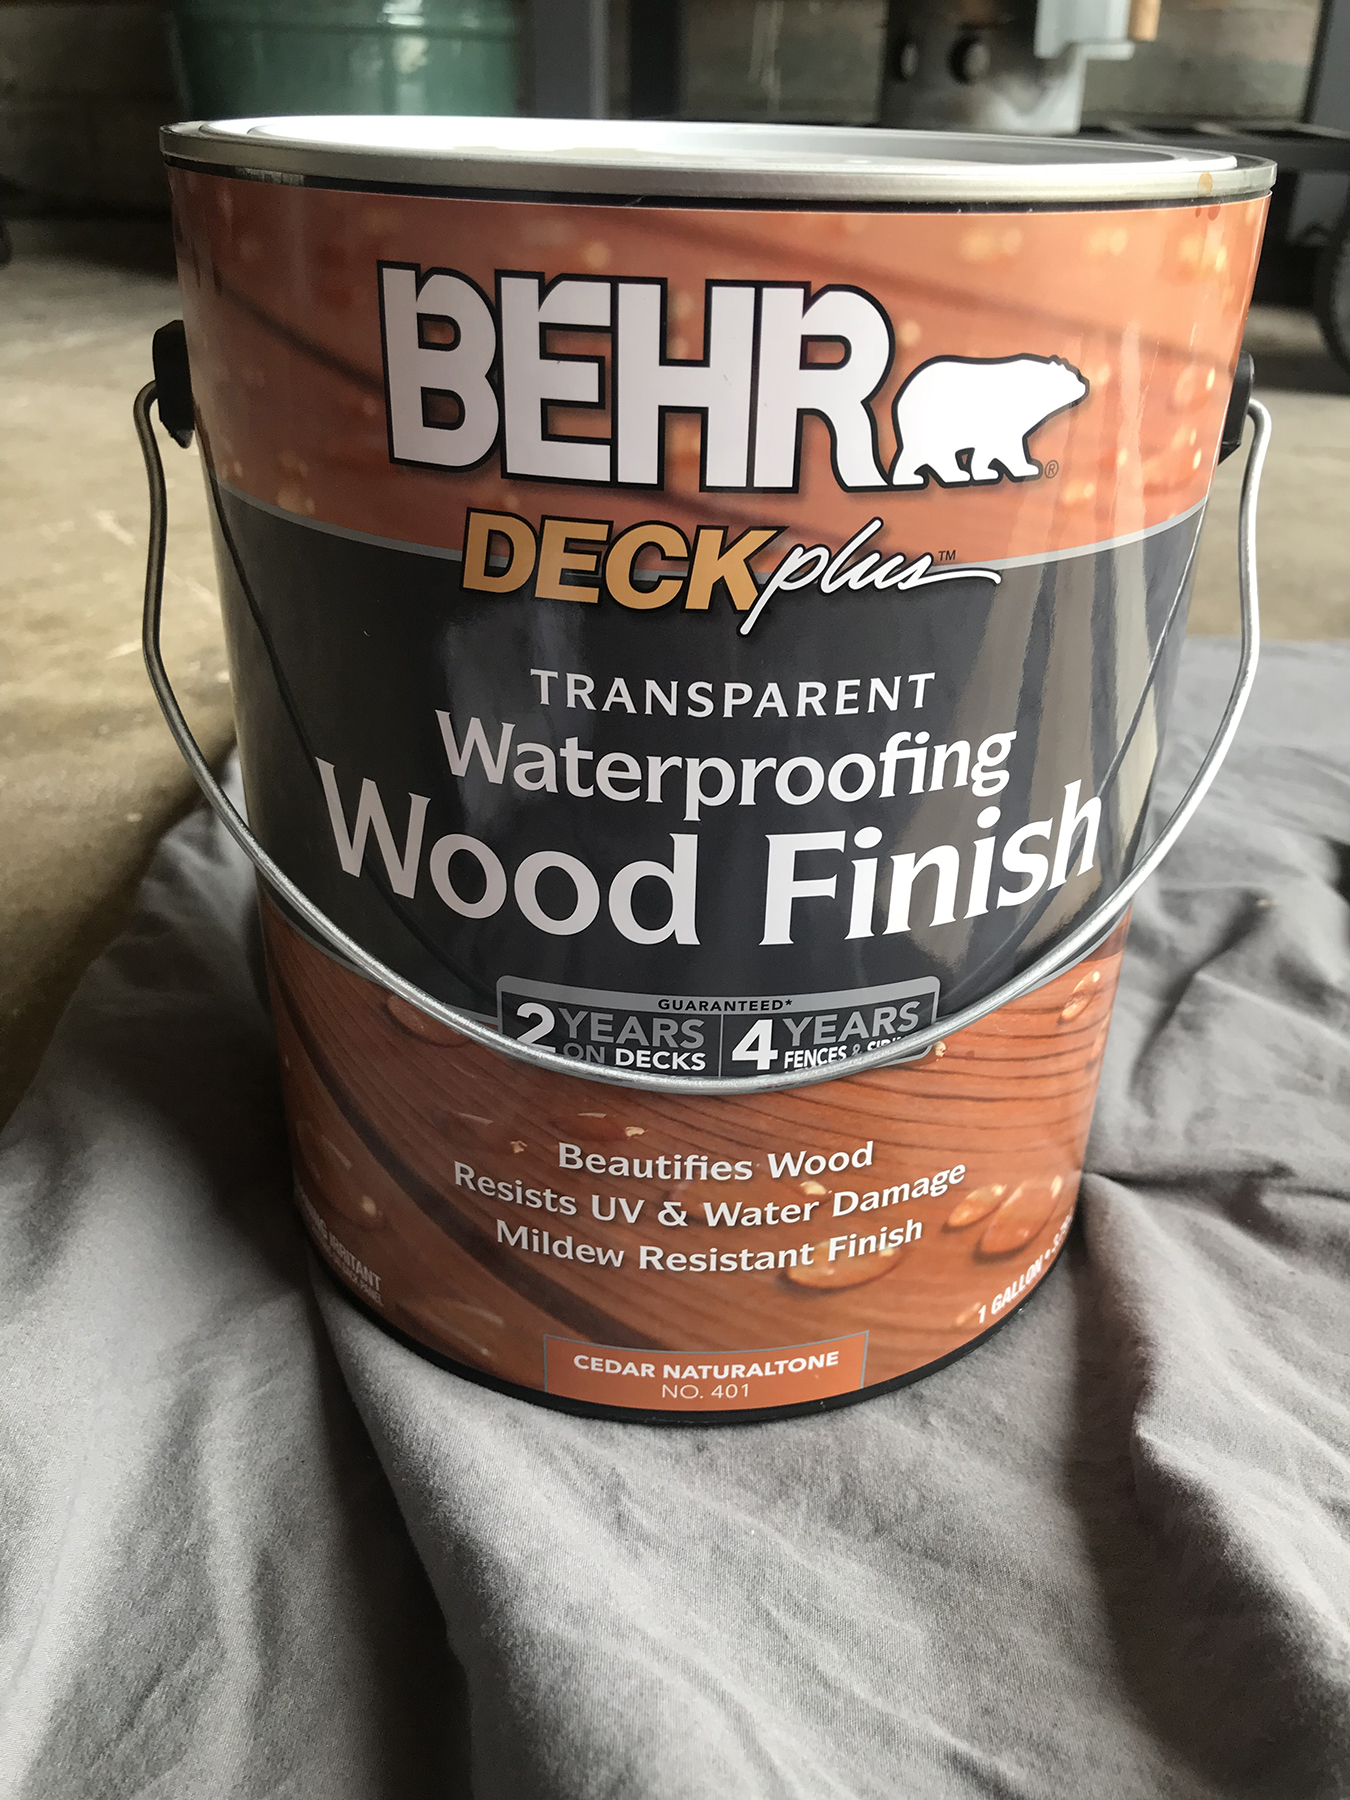
Step3: Stain Wood
Picking out stain was so stressful for me (big commitment) ha! We picked out a stain that complemented the exterior of our house color. We chose a brighter stain to make the wood pop. (Let stain sit and apply as needed to get to ideal color).
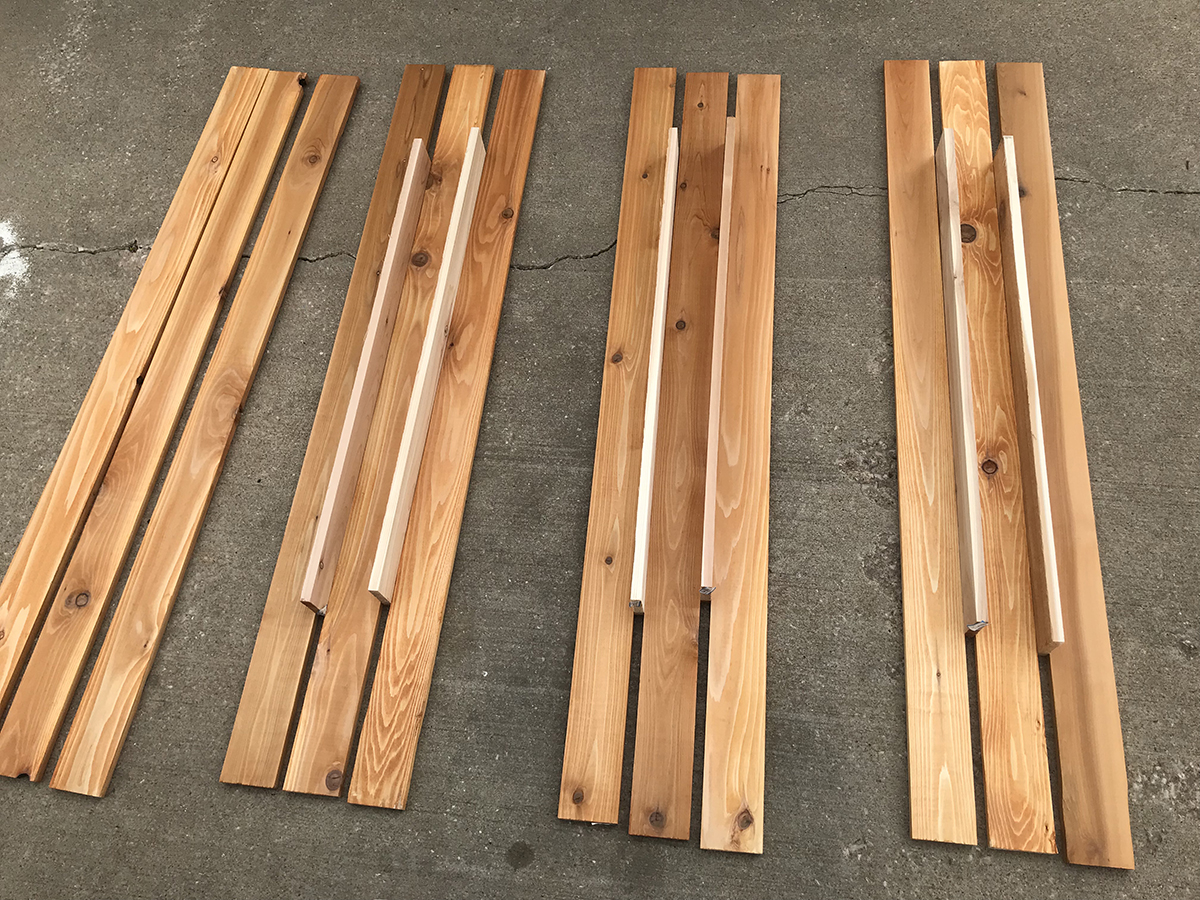
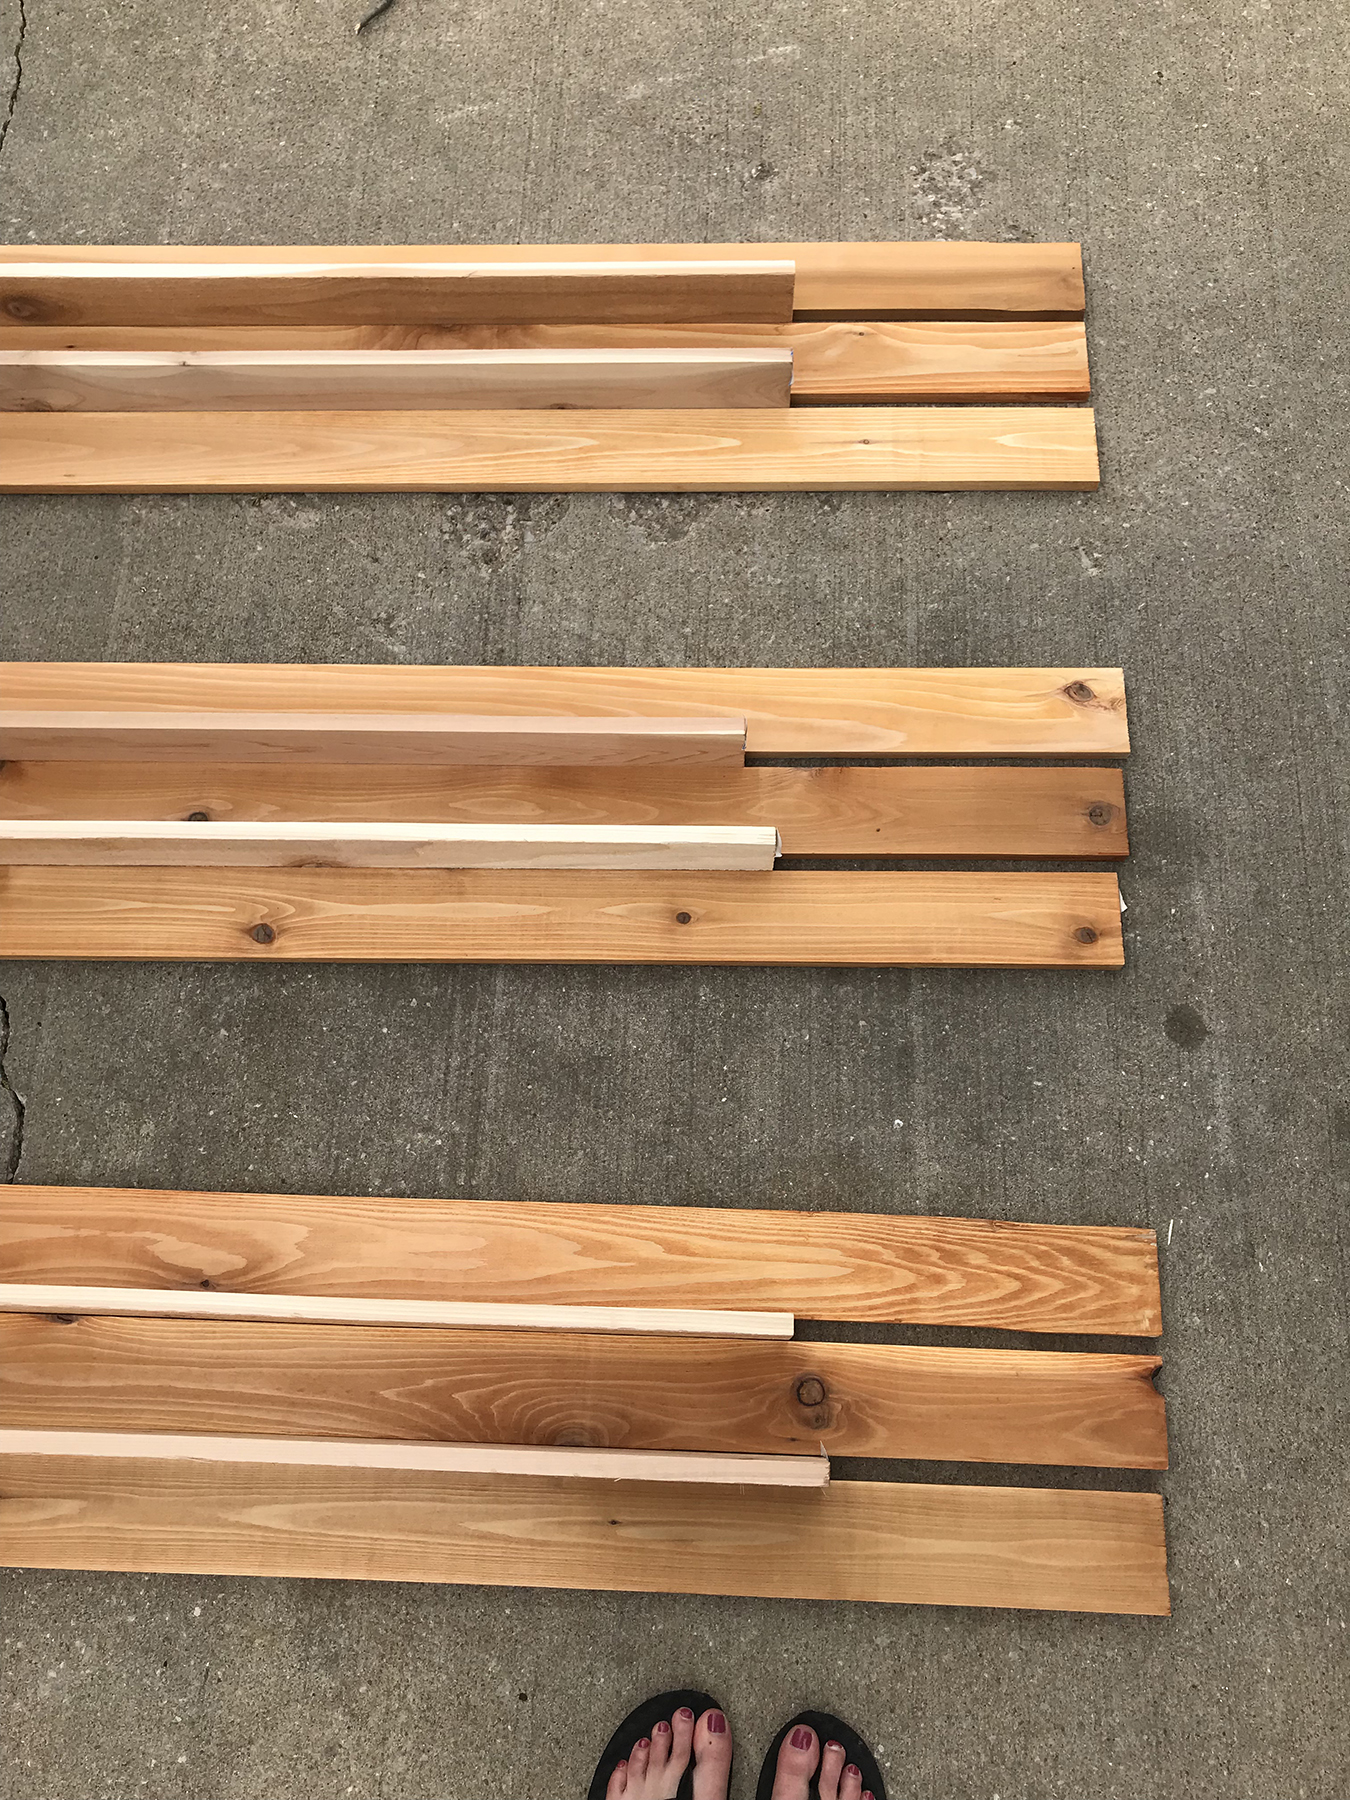
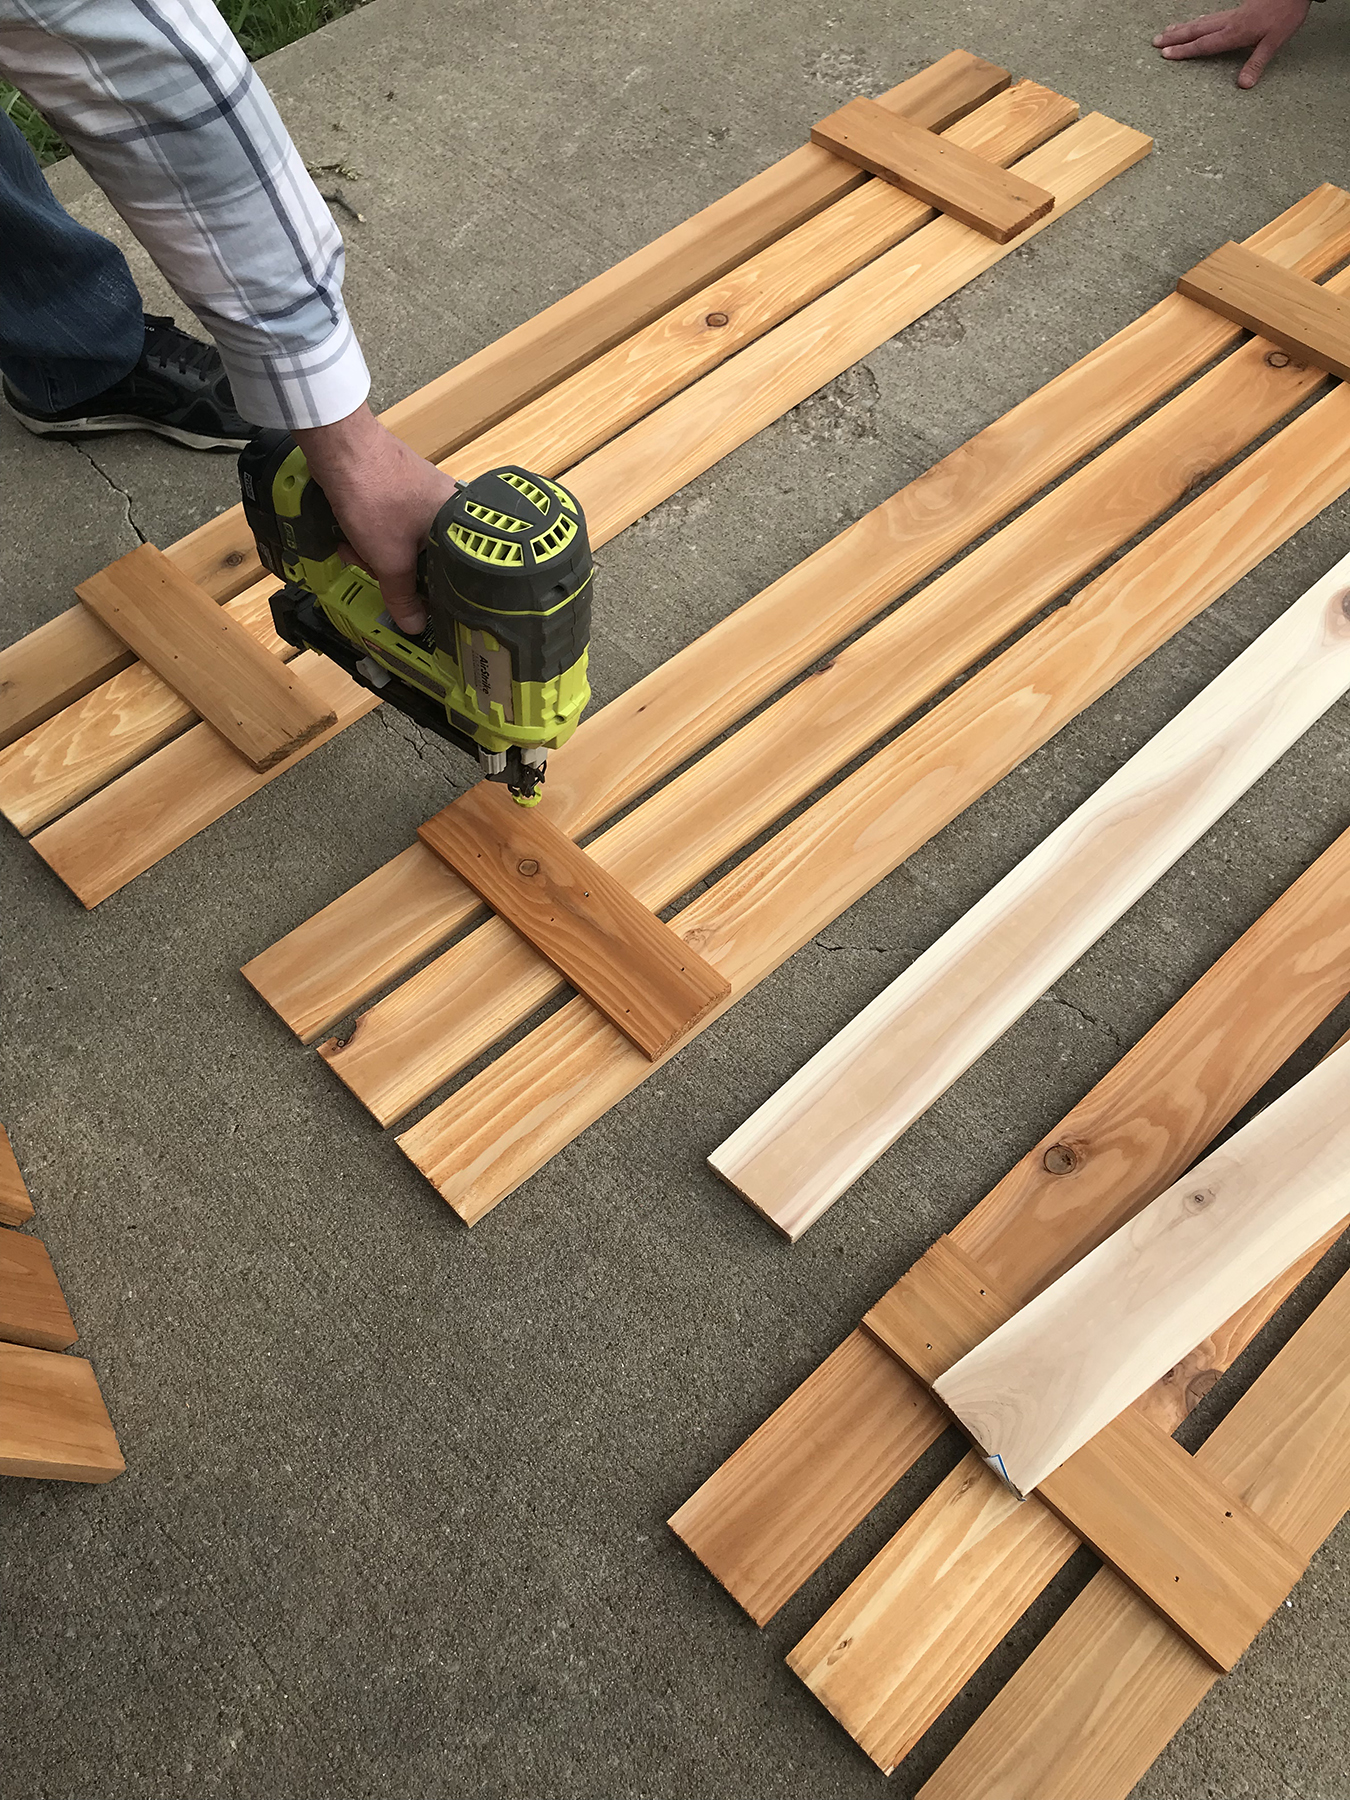
Step 4: Assemble Wood (After Stain Sits)
Line up 3 boards width and two across the top and bottom. This is where you use the nail gun. (As you will see I used the width of the boards to space out the wood to the desired width.)

Step 5: Nail to the House (You will need the galvanized screws and Drill and ladder)
* We chose the brown galvanized screws so they would blend with the wood and the great thing about getting galvanized screws is that they will not rust and run down on the wood making it look rusty.


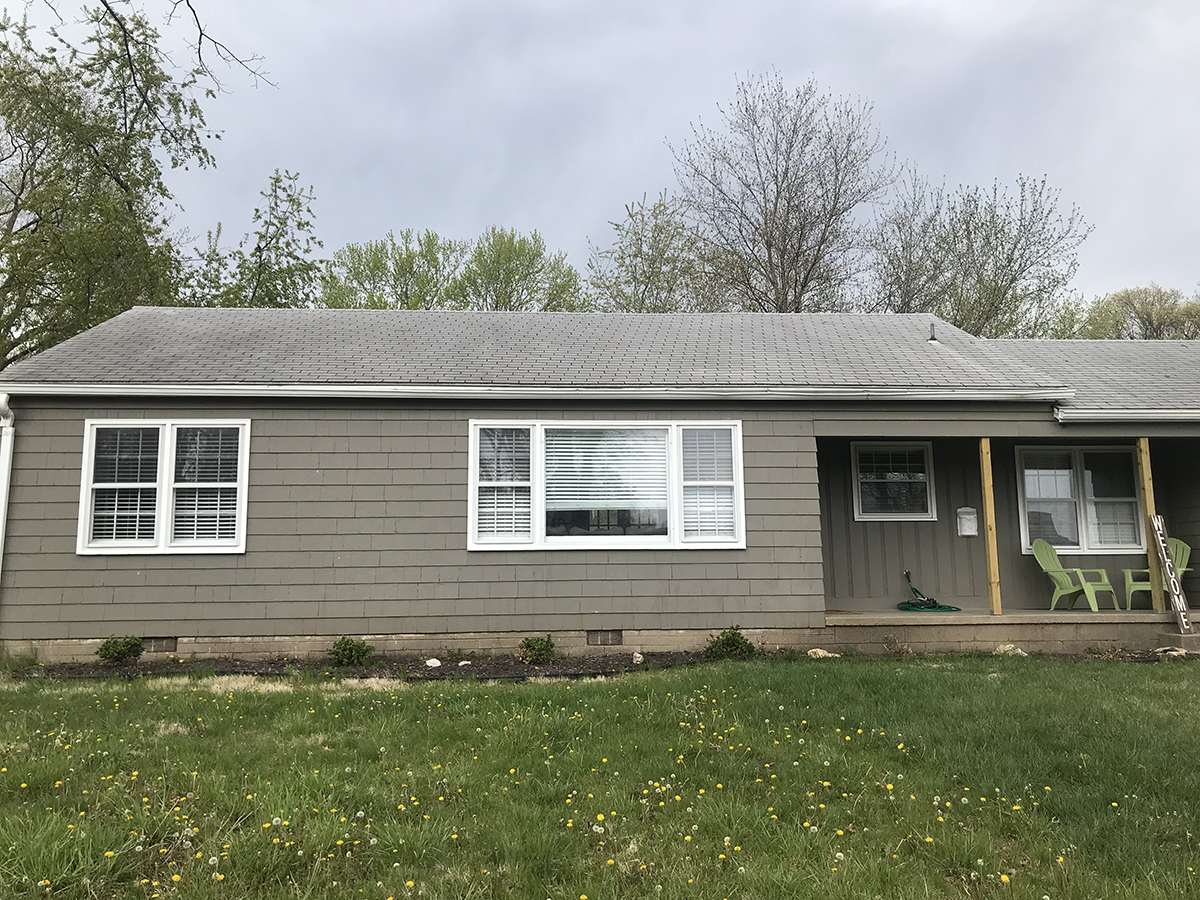
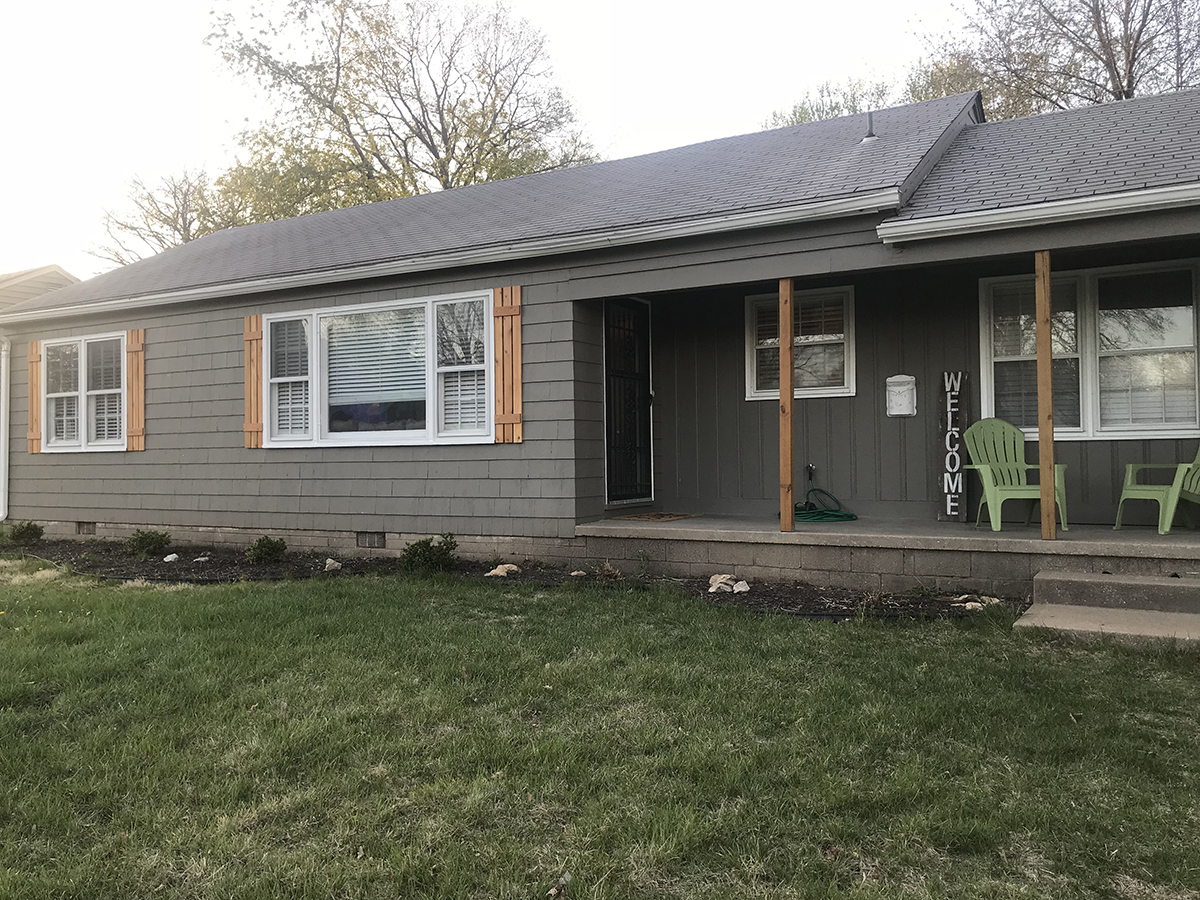
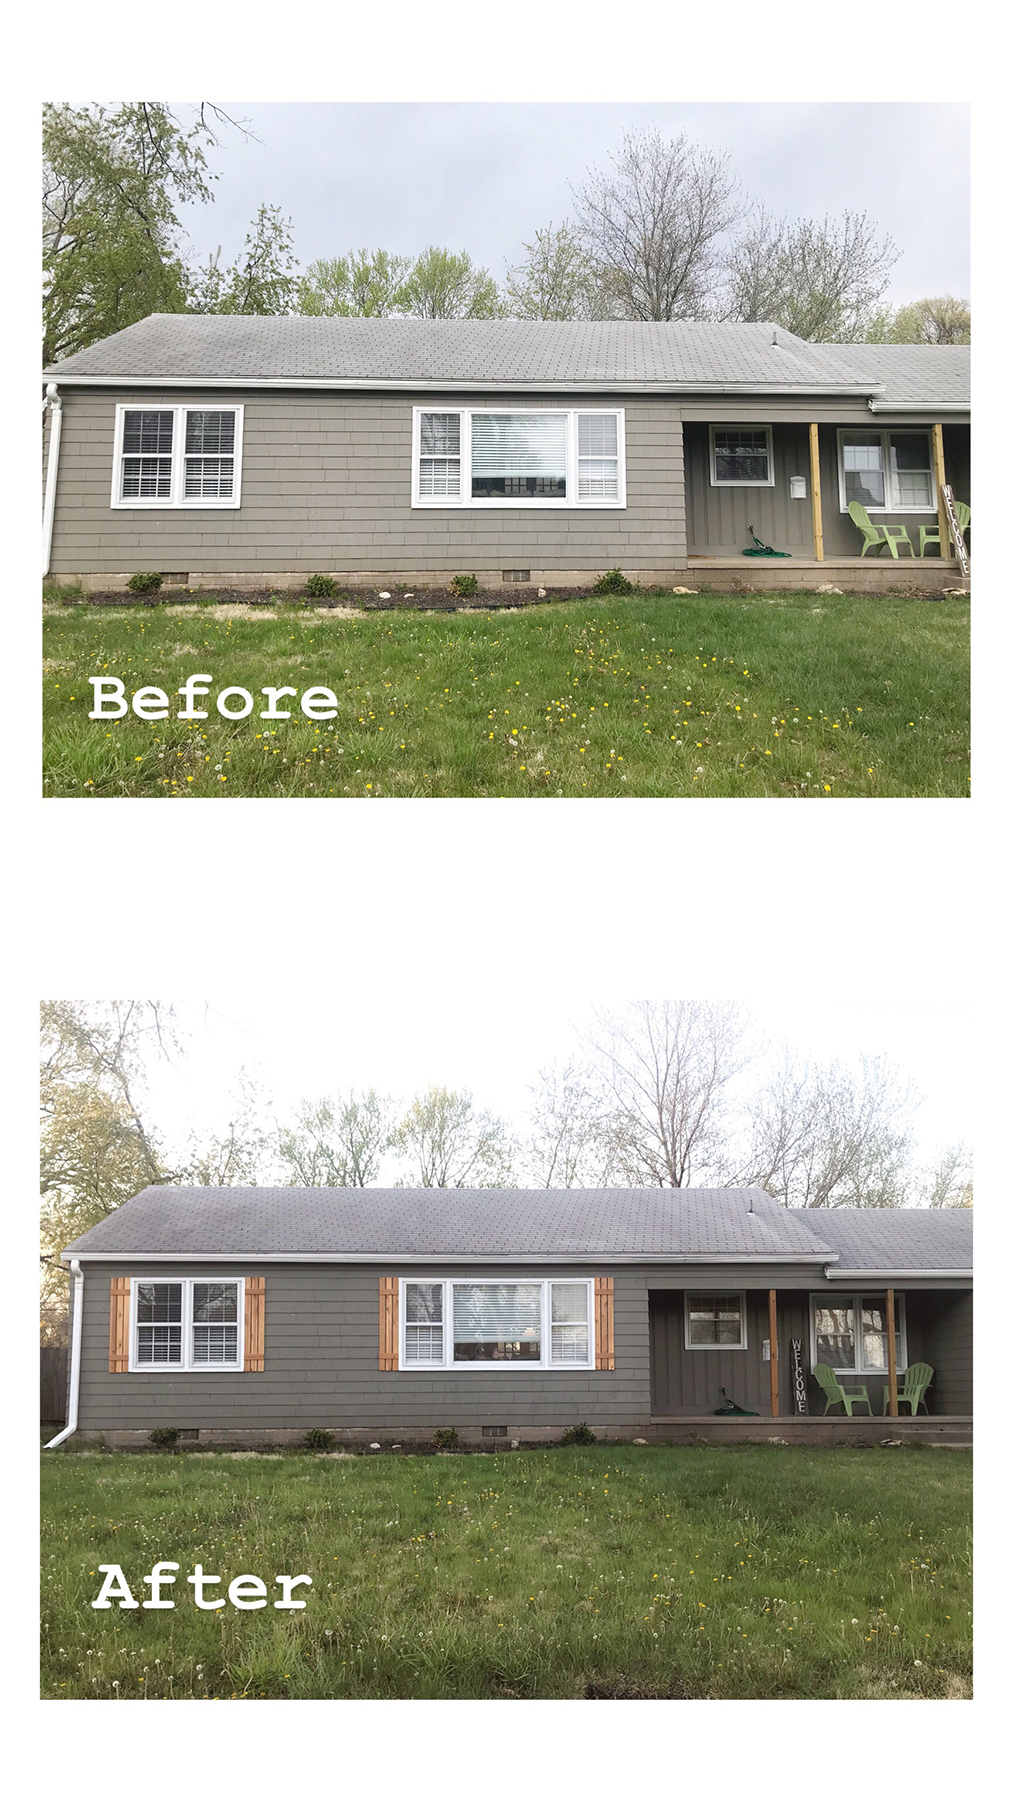
BEFORE:
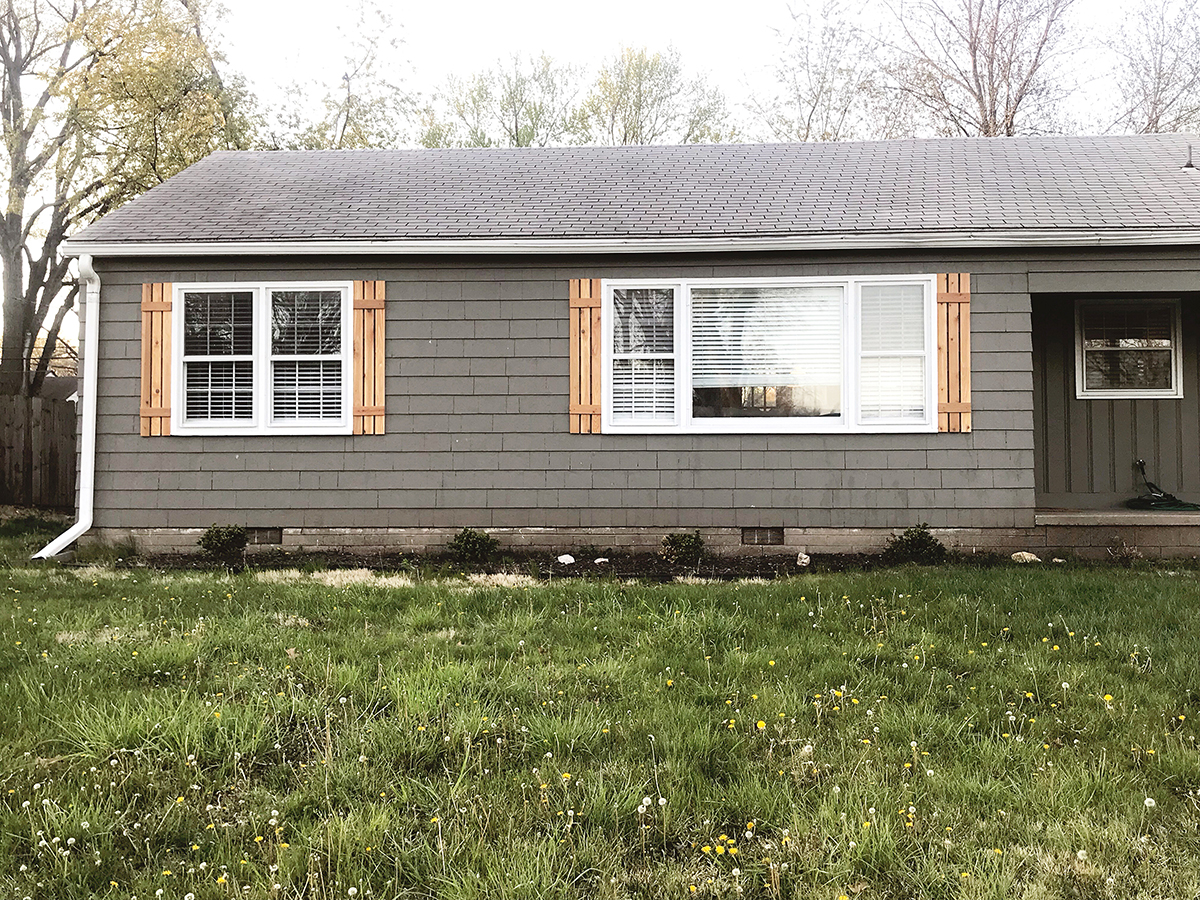
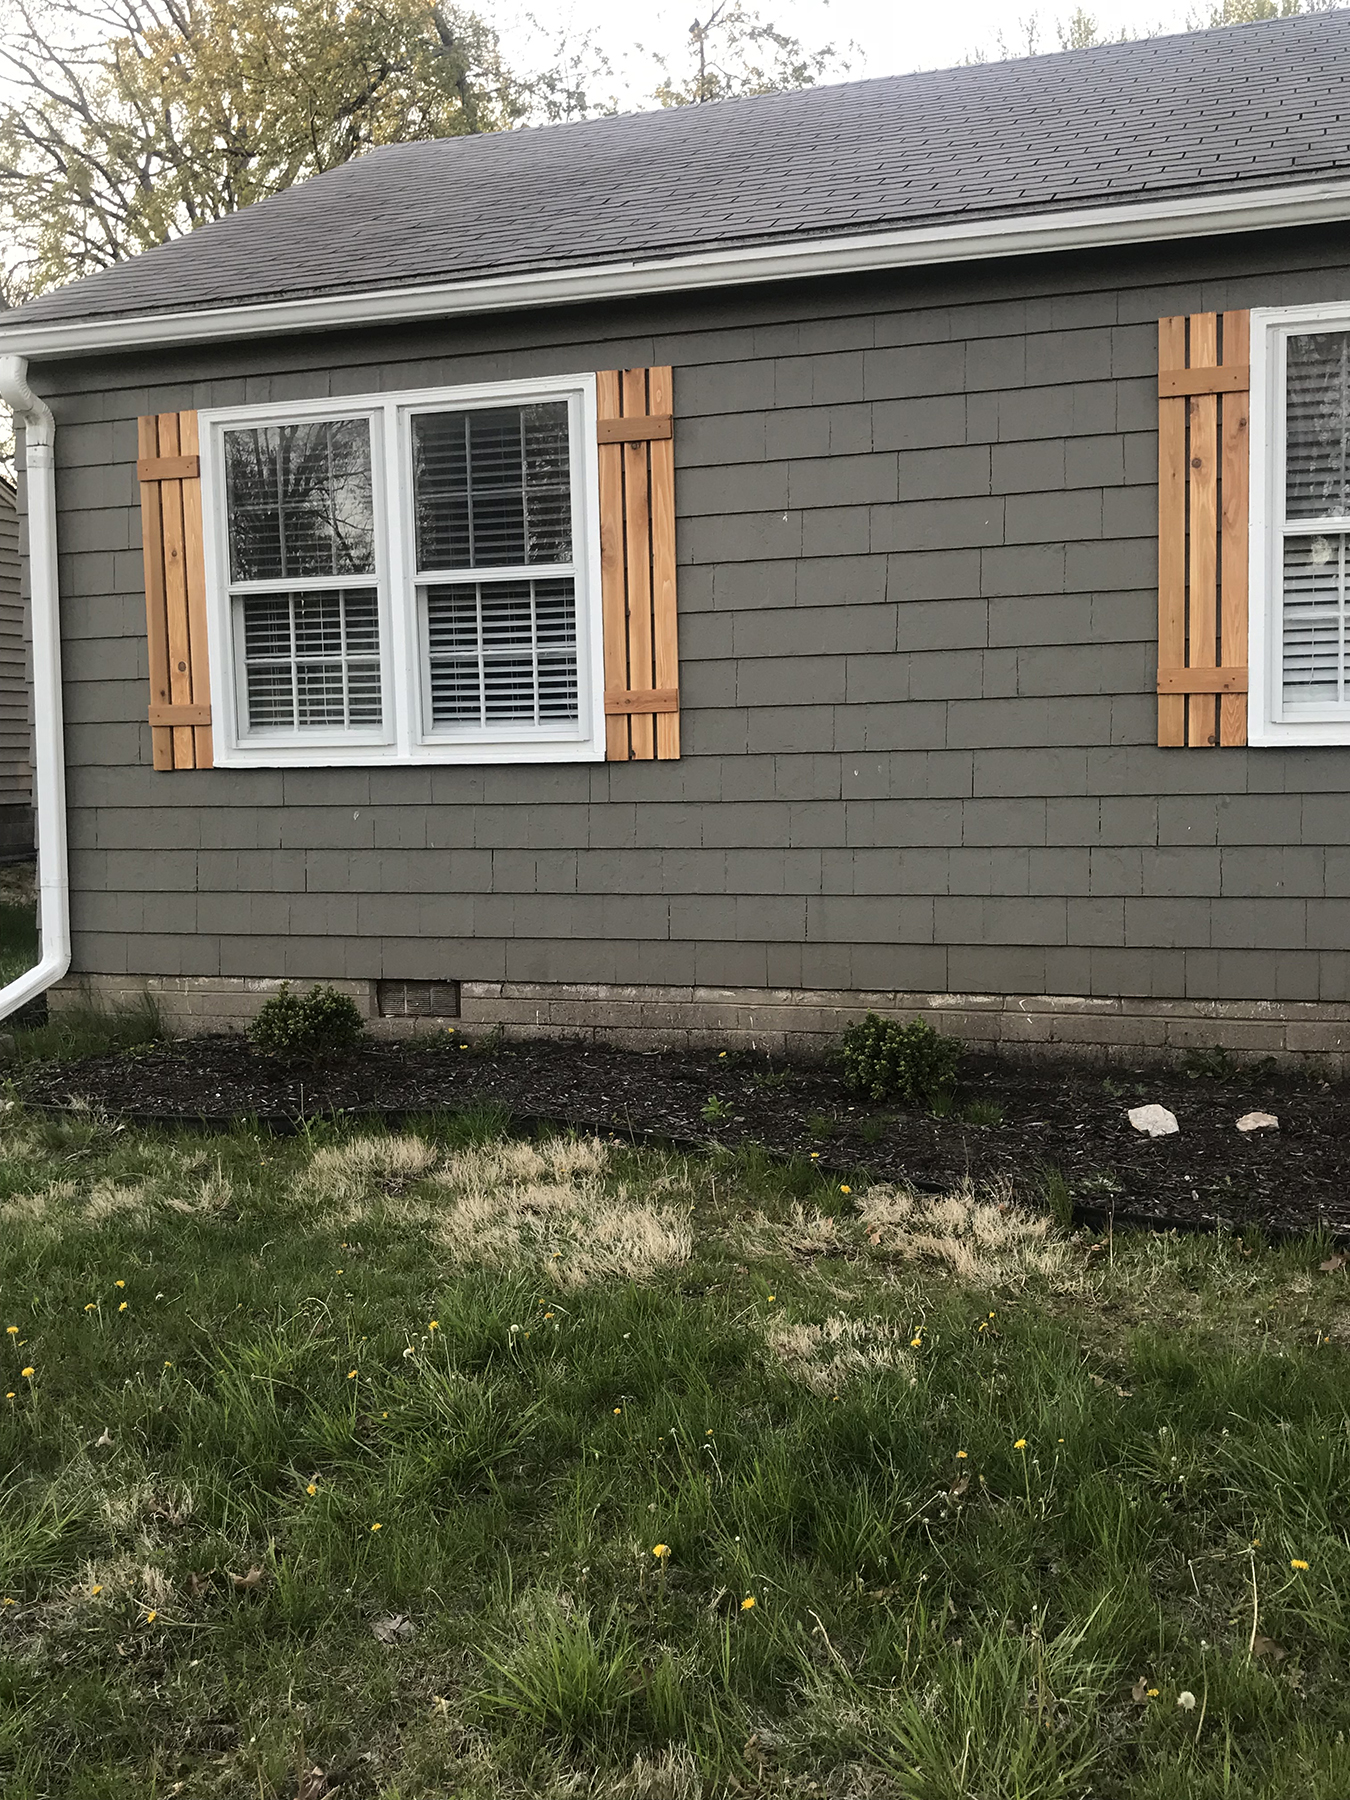
AFTER:


Leave a Reply